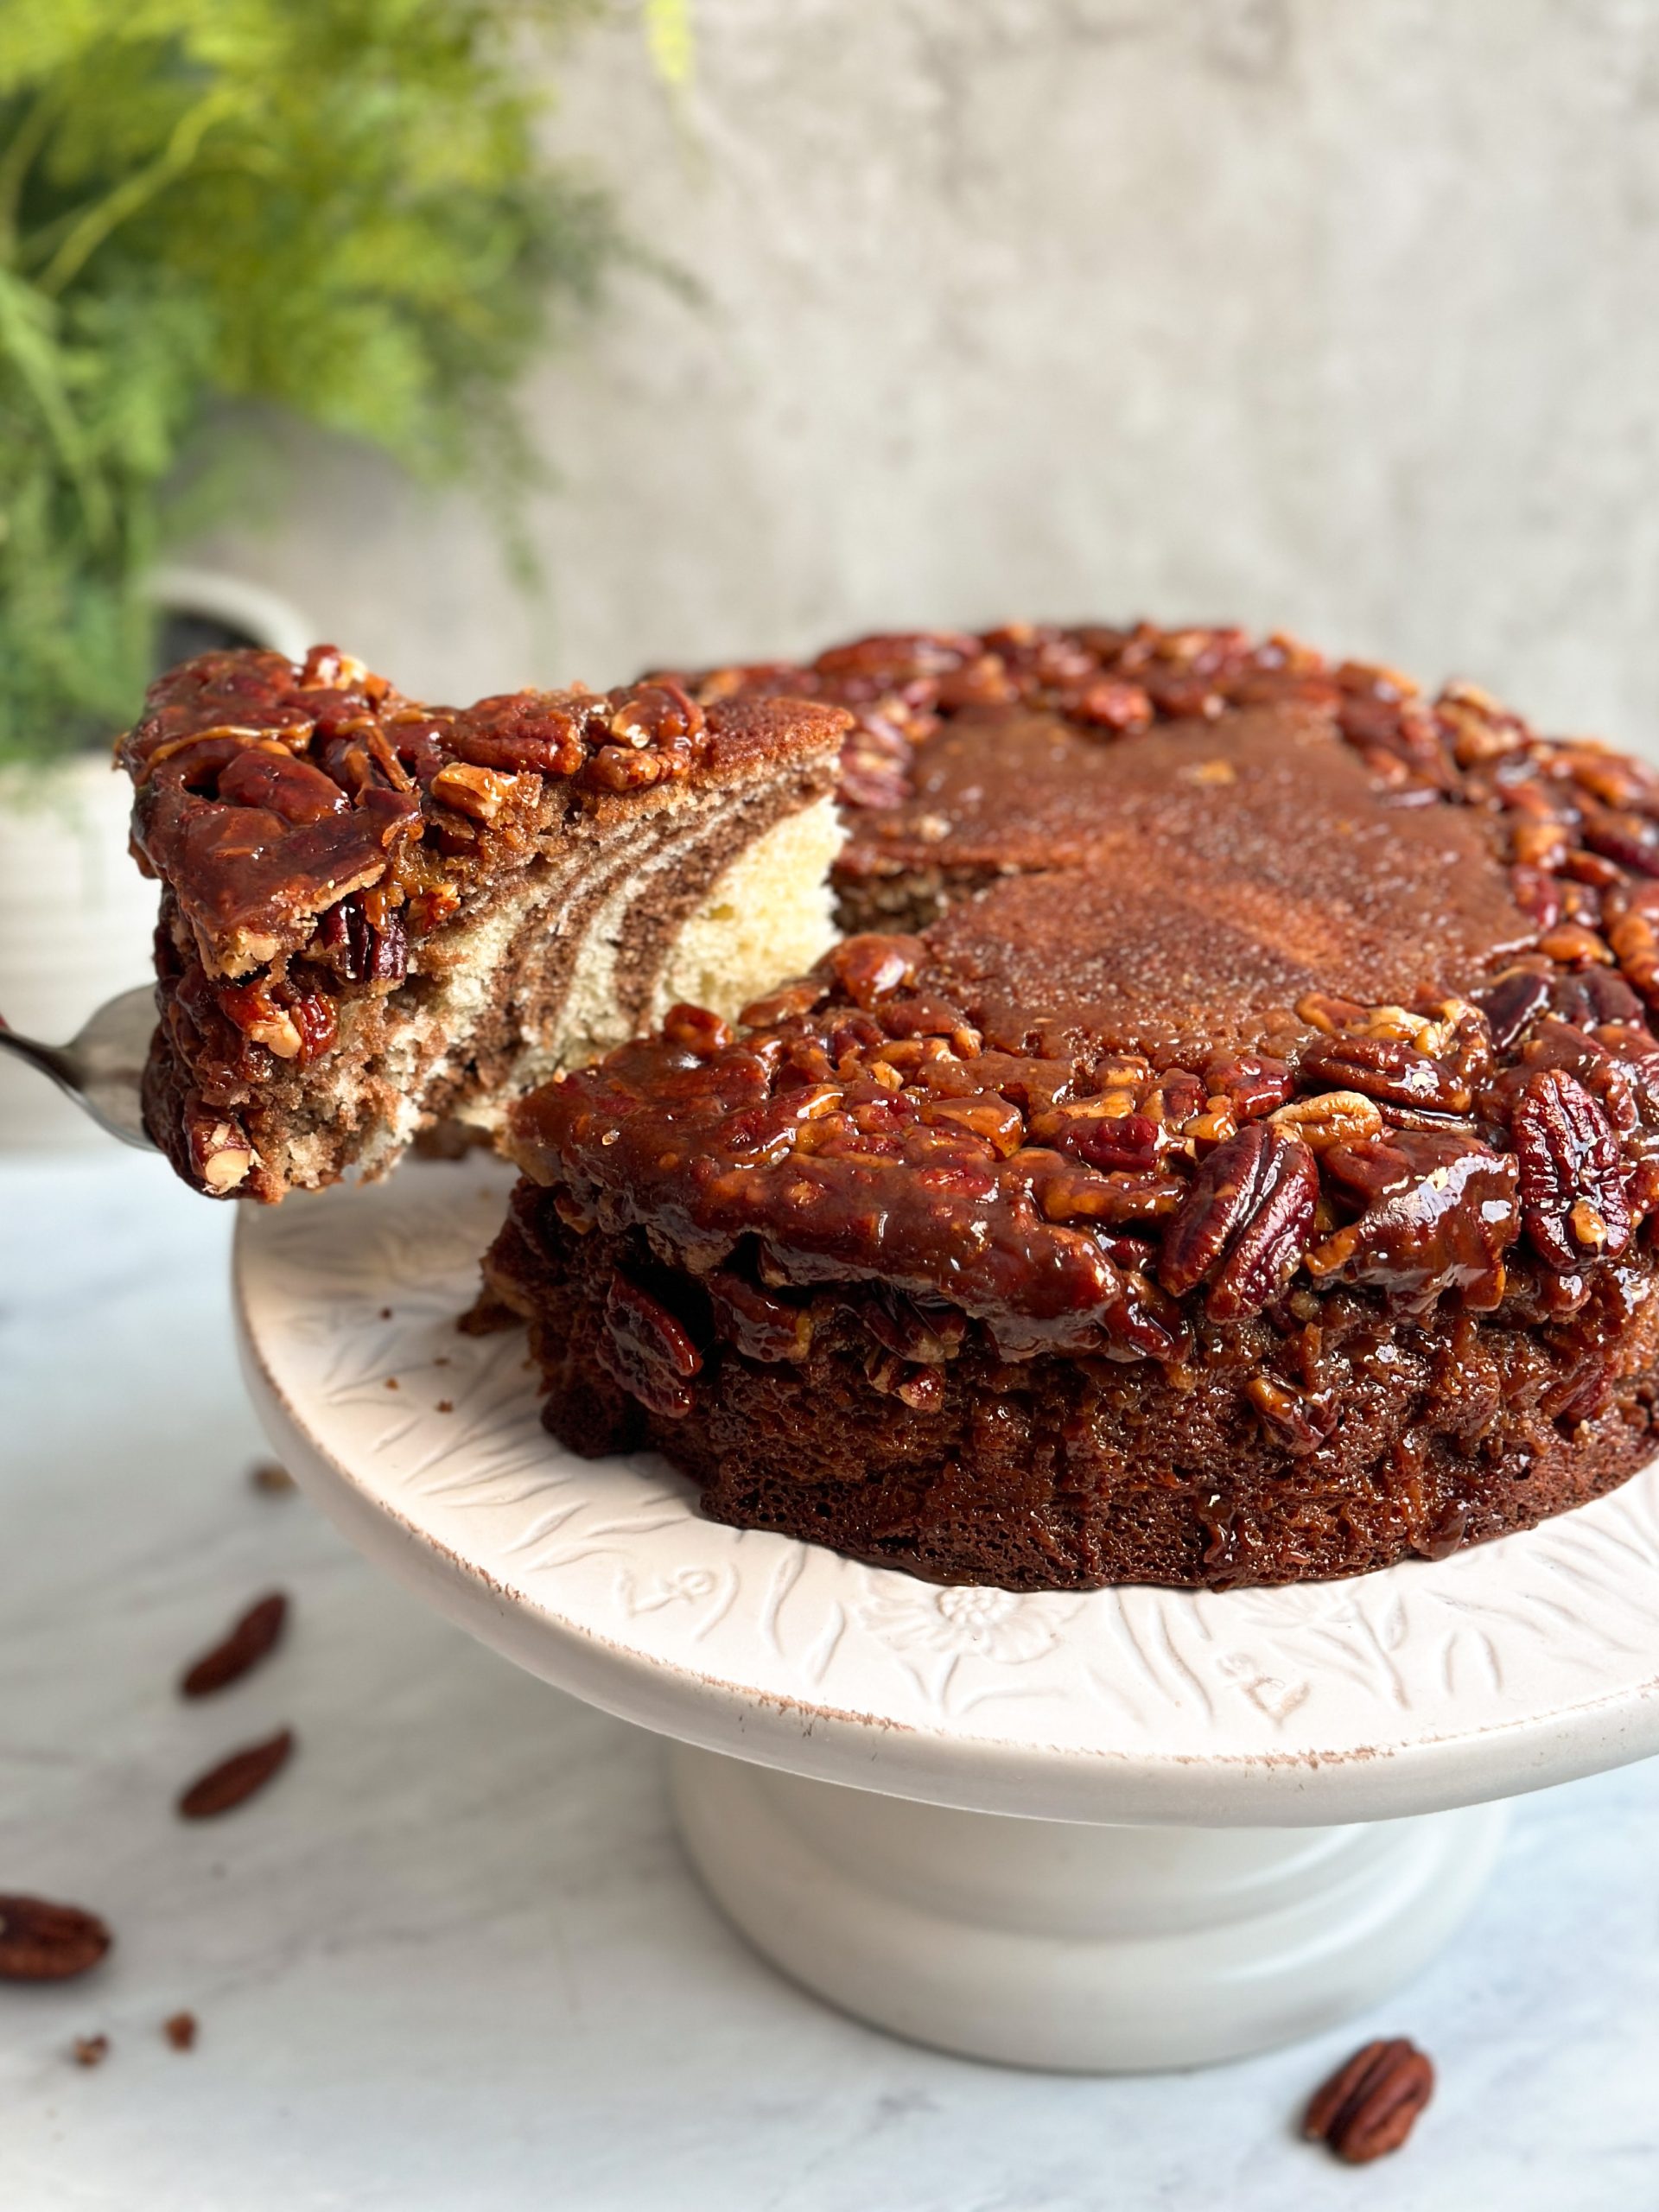

PECAN UPSIDE DOWN MARBLE CAKE
Serves 1435 mins prep45 mins cook
A soft and tender marble cake with a caramelized, crunchy pecan topping
0 servings
What you need

cup canola oil

tbsp cocoa powder

cup sour cream
tsp baking soda
tsp baking powder
cup cake flour

tsp vanilla extract


cup cane sugar

tsp salt

tsp ground cinnamon

cup unsalted butter
tbsp corn syrup
cup pecan halves
Instructions
Pecan topping:

Preheat oven to 350F (conventional) and prepare a 9" cake pan with parchment paper and butter
Mix the butter, corn syrup, brown sugar, salt and cinnamon in a nonstick saucepan and cook and stir on low heat until the butter melts and a smooth sauce has formed. No need to cook it further
Remove from heat and add the toasted pecans. Mix to combine, and pour into the prepared cake pan. Spread evenly on the bottom, and place the pan in the freezer
Cake batter:

Add the sugar, melted butter, oil and vanilla to a bowl and whisk for 2 minutes. Add the egg and egg whites and whisk for another 1-2 minutes
Then, sift in all the dry ingredients (except the cocoa powder) and gently fold until combined
Lastly, fold in the sour cream until a light cake batter forms. Do not over mix
Assembly:

Divide the cake batter evenly between 2 bowls. To one half, sift in 2 tablespoon cocoa powder and fold until combined
Remove the cake pan from the freezer
Use a large spoon or scoop to add a large scoop of the vanilla cake batter to the center of the pan. On top of that, add a large scoop of the chocolate cake batter. Repeat until both batters are used up. Do not shake the pan and handle gently
You can leave the cake as it is to get zebra stripes, or run a skewer through it to create more of a marbled effect. If using a skewer, take care not to stir the pecan filling at the bottom
Bake:

Bake the cake for 30 minutes at 350F, followed by ~15 minutes at 330F. Make sure it is fully baked by inserting a toothpick in the middle
Let the cake cool down in the pan for 20-30 minutes to allow the pecan topping to set. Then carefully flip it over onto a serving stand
Serve and enjoy!
View original recipe